
The humble worm is treated with little regard and is often used as a derogatory term. With no sight or hearing to direct it, this lowly creature toils hard, devouring life’s rubbish, and smashes its way through the dirt nearly mindlessly.
Worms in compost bin, on the other hand, play a crucial role in the breakdown of compostables. And also, worms helps in every ecosystem, as you might expect.
There are more than 5,000 varieties of these little diggers, and humanity wouldn’t survive without them,
as per Charles Darwin: “It may be challenged if there are several other organisms which have served so essential a role in the history of the earth, as have these inferior structured creatures,” he reportedly wrote.
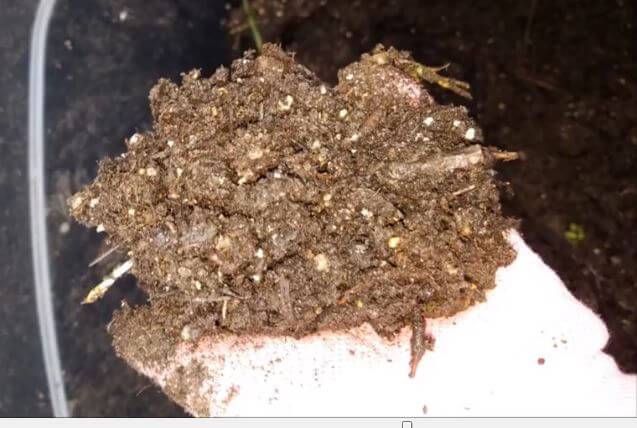
Compost And Worms
The excellent thing is that with little effort and cost, you can leverage this amazingly effective composting potential for yourself and revolutionize the way your household gets rid of garbage.
A $30 handmade worm composter and a $150 store-bought worm hotel are both reasonable prices.
Even the most costly composter might earn for itself in one growing period if you include in the cost of purchasing natural fertilizers for your garden.
Worm composting also referred to as vermicomposting or vermiculture, generates odor-free, organic compost that requires around 30 minutes to manage once a week.
Harvesting your worm castings (valuable poop/garden fertilizer) is the most time-consuming aspect of the process, which takes about 3-6 months.
Can worms, as many people believe, be the solution for stink-free composting? Yes, if you do things properly.
The fact that many communities encourage vermicomposting as a means of redirecting food waste from landfills is confirmation of this.
Worm composting is currently widely employed as among the most suitable techniques of manure treatment by major commercial dairy farms.
Related: Learn About Apartment Composting Without Worms
How To Set Up Your Worm Composting Bin
It’s simple to set up a worm bin. A box, wet newspaper sheets, and worms are all you need. Examine what worms require to survive before deciding how to put up a worm bin.
If your worm bin has everything worms require, it will be a triumph. Water, ventilation, feeding, shade, and moderate (but not hot) conditions are all essential for worms.
Newspaper sheets or leaves can be used as bedding to retain water and provide air gaps for worms.
Red worms or red wigglers, which can be obtained from a worm farm and shipped to your college, should be used in the worm bin. Eisenia foetida and Lumbricus rubellus are the scientific names for the two most often utilized red worms. (Learn how to add worms in compost)
Related: Check Out The Right Composting Worms Temperature
Containers For Composting Worms
- When selecting a container for worm composting, consider the number of food scraps you intend to compost as well as the location of the bin.
- A 5- to 10-gallon box, or around 24 gallons, is a nice size bin for the room “18” x 18″ x 8″.
- Because red wigglers are surface-dwellers who tend to reside in the top 6 inches of the box, it should be shallow instead of the deep “of the soil.
- It’s a personal choice, depending mostly on what’s accessible if you are using a plastic, wooden, or glass container as a worm bin.
- Spare tanks are accessible from some instructors. Some people have wooden crates that they’d like to recycle.
Read also: How Many Composting Worms Do I Need?
How To Use Worm Compost
You can use your compost right away, or preserve it and utilize it later during the planting season or whenever you choose.
Compost can be added straight into your potting soil or garden soil as a soil additive to assist plants to absorb nutrients.
Alternatively, you can use compost as a top treatment for your indoor or outdoor plants. Your compost can also be used to make “compost tea.”
- Try adding 1-2″ of compost to your rain barrel or water container.
- Wait a day for the compost and water to “soak,” stirring occasionally.
- Water your plants as usual.
- The generated “tea” aids in the availability of nutrients in the soil to plants.