
Not only does it reduce your household waste, but it also enhances the health of your plants and soil. If you’re new to composting or looking to build your own compost bin, this guide is for you.
From selecting the perfect location and choosing the right materials to assembling your bin and maintaining it, we’ve got you covered. Let’s dive into the easy steps to create your very own compost bin, turning waste into garden treasure.
Key Takeaways:
- Choosing the right location with a balance of sun and shade, along with proximity to a water source, is crucial to ensure your compost bin is accessible and maintains optimal moisture levels.
- Selecting durable, well-ventilated materials such as wooden pallets, wire mesh, plastic bins, or cinder blocks allows for a DIY compost bin that caters to various composting needs and withstands different weather conditions.
- Regular maintenance including monitoring moisture levels, turning the pile every two to four weeks, and balancing green and brown materials is essential for creating rich, nutrient-dense compost to help your garden thrive.
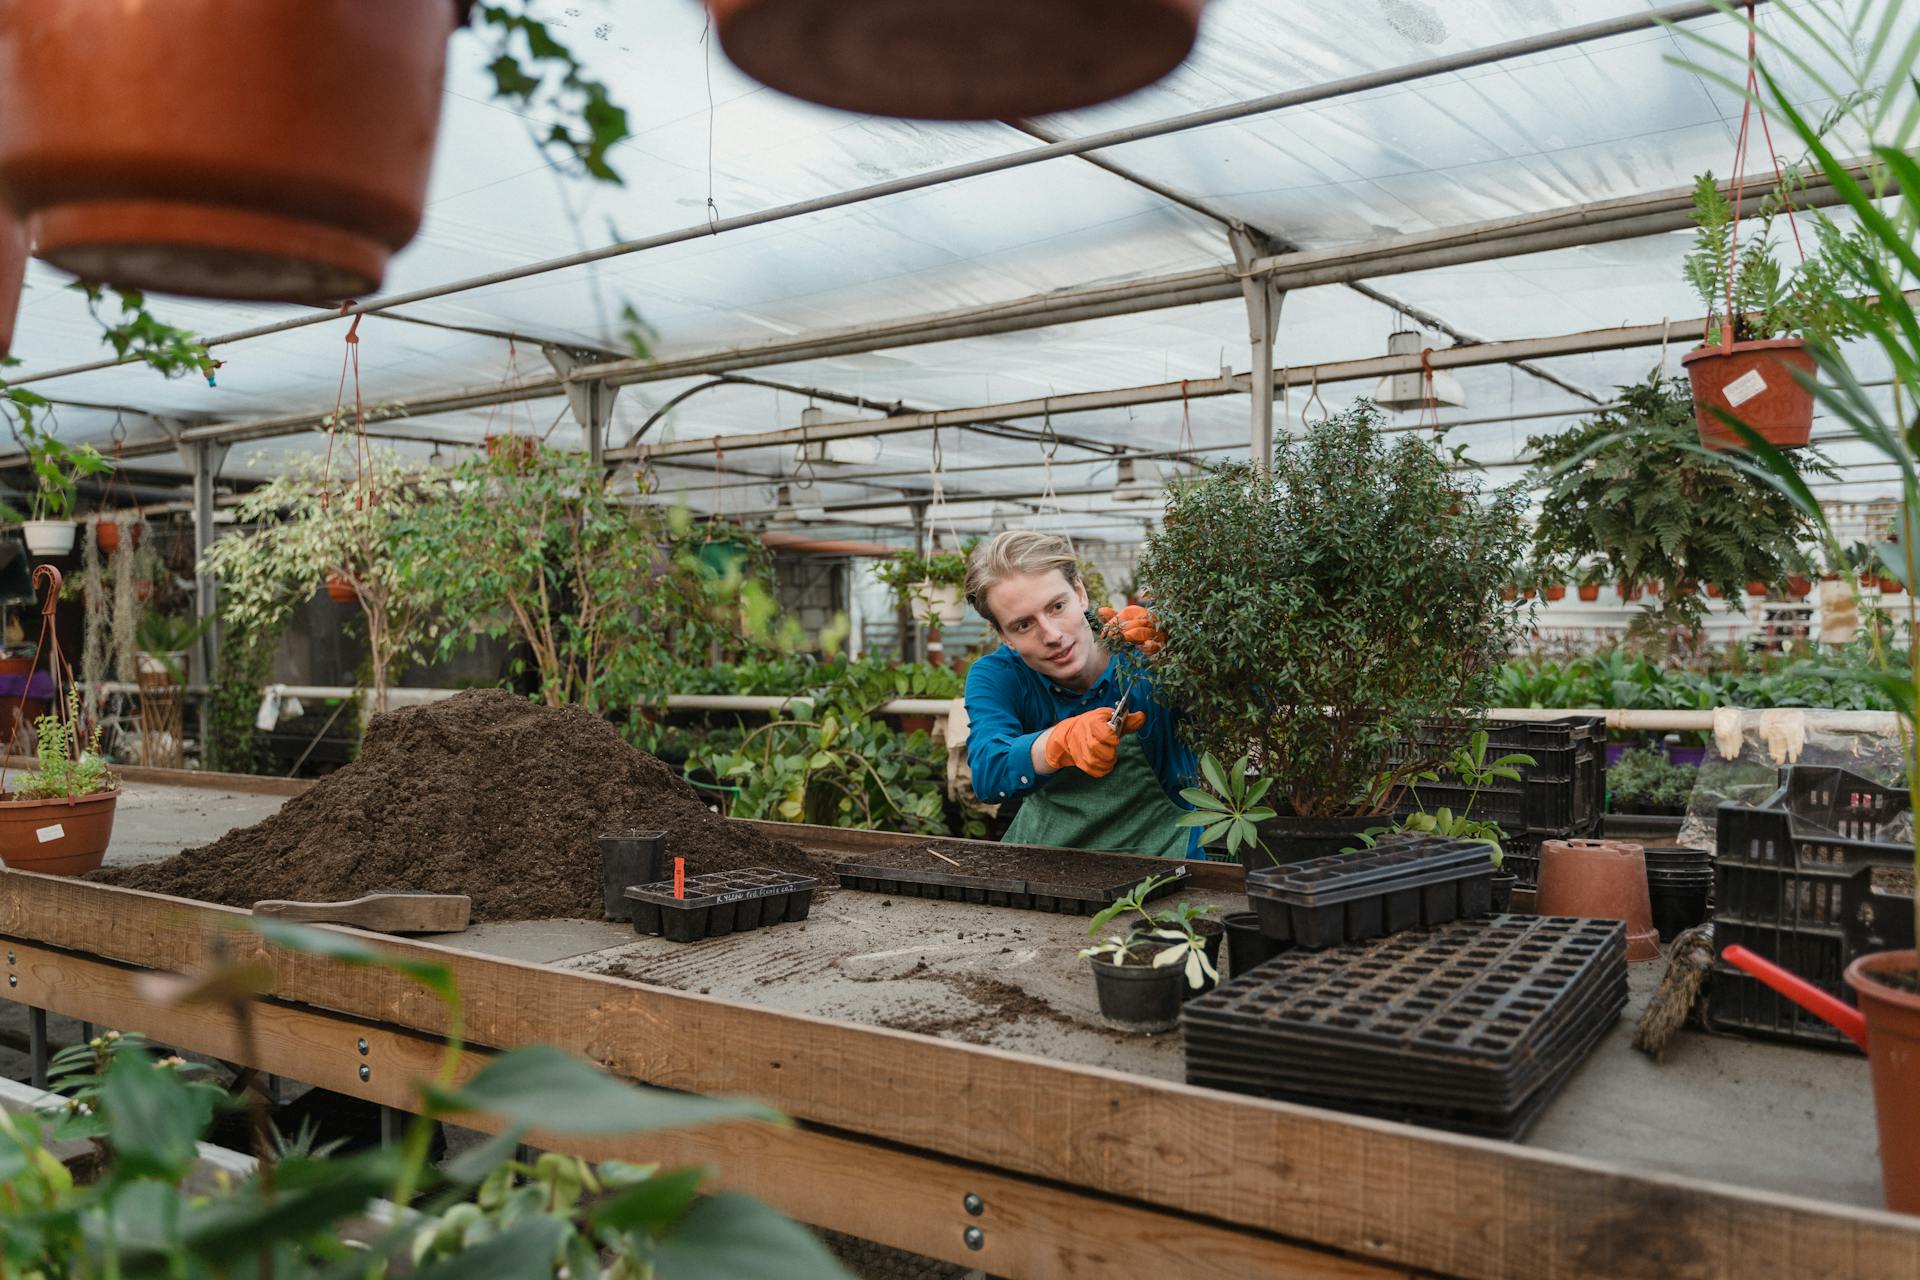
Choosing Your Location
Before establishing your compost bin, it’s important to select the right spot in your yard or garden. You’ll want a location that’s easily accessible year-round, so you don’t have any reasons to skip adding scraps in the winter or retrieving compost for your garden in the spring.
A key factor to think about is sunlight. Your compost bin should be in a spot that gets a mix of sun and shade. Too much sun can dry out your compost, while too much shade can keep it too wet. Finding that balance is essential for the composting process to work smoothly.
Another important element: water. Your compost needs to stay moist but not waterlogged. Placing your compost bin near a water source makes it simple to add moisture when necessary. However, make sure it’s not in a spot where it could be flooded during heavy rain.
Selecting Your Materials
When making a DIY compost bin, choosing the right materials is crucial for creating an efficient and durable setup.
This section will guide you through selecting materials that are readily available, eco-friendly, and suitable for your composting needs.
Types of Materials
1. Wooden Pallets: Widely available and often free, wooden pallets are a popular choice for DIY compost bins. They provide excellent air circulation and are easy to assemble. However, ensure the pallets haven’t been treated with harmful chemicals.
2. Wire Mesh: Wire mesh or chicken wire is ideal for making a simple, airy compost bin. It’s lightweight, easy to mold into shapes, and allows for excellent air flow, which is vital for the composting process.
3. Plastic Bins: If you’re looking for a less labor-intensive option, a large plastic bin with holes drilled for aeration can be an effective compost bin. It’s waterproof and durable, making it suitable for various climates.
4. Cinder Blocks or Bricks: These materials are perfect for creating a more permanent, sturdy compost bin. They provide excellent insulation and durability but require more effort to assemble.

Considerations for Material Selection
– Durability: Your compost bin will be exposed to the elements year-round, so choose materials that can withstand your local weather conditions.
– Aeration: Good air flow is critical for composting. Materials that allow for ventilation, either through natural gaps or holes you create, will help speed up the composting process.
– Size and Accessibility: Consider how much organic waste you produce and select materials that will enable you to build a compost bin of an appropriate size. Also, think about how you’ll access the compost, whether through a door, a removable side, or a simple open top.
– Eco-Friendliness: Since the purpose of composting is to reduce waste and contribute positively to the environment, opt for recycled or sustainably sourced materials whenever possible.
– Cost: Your budget may influence your material choice. While some materials like pallets can be acquired for free, others may require a purchase. Assess your budget and resources before deciding.
Assembling Your Bin
Once you’ve gathered your materials, it’s time to start putting your compost bin together.
- First, if you’re using a container, drill holes throughout to ensure proper ventilation and drainage. This step is vital to make a compost bin that breathes, helping break down materials faster. For those opting for a wooden bin, assemble the sides to create a box shape, making sure the slats are close enough to hold materials but far enough apart for air flow.
- Next, place your bin in a spot that gets a mix of sun and shade. You want it warm enough to aid decomposition but not so hot that it dries out. Please make sure it’s also accessible for adding scraps and turning the pile.
- Now, hey, don’t forget to welcome some tiny helpers to your composting journey. Insects and worms are essential for breaking down organic material, so make sure your bin is a welcoming space for them. By following these steps, you lay the foundation for a thriving ecosystem that’ll help your garden grow.
Maintaining Your Compost Bin
To maintain the health of your compost bin, it’s essential to regularly monitor and adjust its contents. This involves:
- checking the moisture levels
- turning the pile,
- balancing the green and brown materials.
You’re aiming for a damp, not soggy, environment. If it’s too dry, add some water or green materials like vegetable scraps.
If it’s too wet, throw in more brown materials such as dried leaves or shredded paper to soak up excess moisture.
Turning your compost is important for aeration and speeding up the decomposition process. Rememeber to turn your pile every two to four weeks. This introduces oxygen, which helps break down materials faster. You’ll know you’re on the right track when the compost becomes dark, crumbly, and earthy-smelling.
Don’t forget to keep an eye out for unwanted pests or odors. If you spot any, it’s likely because you’ve added materials that don’t belong in the compost, like meat or dairy products, or the bin isn’t getting enough air.
Conclusion
Now that you’ve chosen the perfect spot, selected durable materials, assembled your bin, and grasped the basics of composting, you’re all set to maintain your compost bin efficiently.
Remember, keeping an eye on moisture levels, turning the pile regularly, and balancing greens and browns are key to a successful compost.
Don’t hesitate to get your hands dirty; it’s all part of the rewarding process of turning waste into gold for your garden.
Happy composting!