
Download: Learn About Pumpkin Growing Stages
Pumpkins go through numerous stages of development, from sowing the seed through harvesting and storing the pumpkins. This post will go over 7 pumpkin growth phases for growing a great harvest of pumpkins in your home garden.
Pumpkin growing stages
Stage 1: Sowing the seeds
Pumpkin seeds are flat, round, and light in color. Jack Be Little is a popular tiny pumpkin type that grows vertically on a trellis, and Jack O’Lantern pumpkins are great for carving.
About two weeks after the last frost of the season, pumpkin seeds can be sown immediately in the garden. If you have a short growth season, you may also start your pumpkin seeds inside.
Plant the seeds in a seed starting tray in the early spring, and if the weather is still chilly, set the tray on a heating pad.
Stage 2: Seed Germination
Pumpkin seeds normally germinate in 8 to 10 days, although it may take longer if the soil is chilly.
The seedling emerges from the earth with the seed shell still connected to the leaf tips. The first two leaves to develop are oval-shaped seed leaves, often known as cotyledons. The first genuine leaves will develop about a week later.
Stage 3: Vine development
Pumpkin vines sprout out from the plant’s base and can grow 6 inches (15 cm) every day if given enough of sun and water. Depending on the cultivar, the vine can grow to be 10 to 20 feet (3 to 6 metres) long.
To minimize fungal diseases, keep the soil uniformly moist but try to keep the leaves dry while watering. During warmer weather, your pumpkin plants may need to be watered every day or two.
Stage 4: Flower growth
8 to 10 weeks after planting, pumpkin blossoms will begin to bloom. The blooms are huge and golden, with a long stamen in the center.
Male flowers bloom first, followed by female flowers around ten days later. For a bountiful yield, you may begin feeding your plants with a liquid plant meal every two weeks at this time.
Stage 5: Pollination
Male pumpkin blossoms produce pollen and nectar, both of which are highly valued by bees. The bees then go on to the female flowers, where part of the pollen is transported and pollination is accomplished.
If there aren’t enough bees in your region, you can hand pollinate the flowers by transferring pollen from male flowers to female flowers with a little paintbrush. The plant will begin to produce fruit when pollination is complete.
Stage 6: Fruit development
As the female flowers shut, little spherical green fruits appear at the base of the petal. These little newborn pumpkins will grow quickly over the next few weeks.
If you’re growing pumpkins on a trellis, you’ll need to make a hammock out of an old t-shirt or pantyhose to hold the pumpkin’s weight as it develops. After pollination, it typically takes 45 to 55 days for the pumpkin to reach full growth.
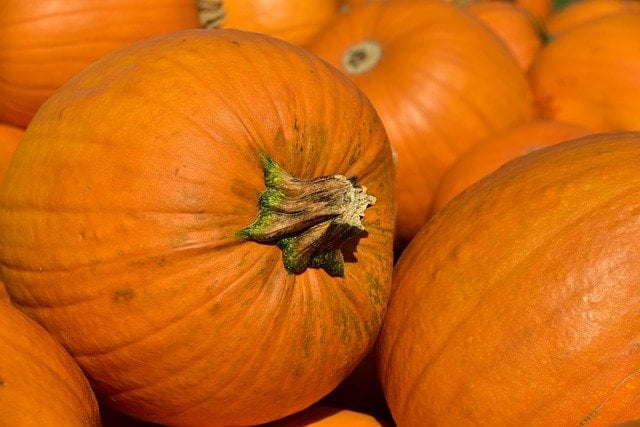
Stage 7: Harvesting
Pumpkins are ready to pluck when the vine begins to discolor and wither. You can also detect if a pumpkin is ripe by tapping on the exterior of it. Your pumpkins are ready to pick if you hear a hollow sound.
With a sharp knife, cut the vine, leaving at least 3 inches (approximately 7 cm) of stem connected to each pumpkin.
Conclusion
Pumpkins may be stored properly for six months or longer. Spot the pumpkins in a single layer in a cool, dark place, allowing air to circulate between them.
Further Reading
- Gibberellin Biosynthesis in Developing Pumpkin Seedlings
- Production Practices of Pumpkins for Improved Productivity
- ANALYSIS OF CERTAIN BIOCHEMICAL CHANGES ASSOCIATED WITH GROWTH AND RIPENING OF PUMPKIN FRUIT IN RELATION TO ITS SEED DEVELOPMENT