
It’s a serious undertaking, as we’ve learned the hard way that having extremely good soil is more important than anything else when it comes to growing a great garden. It not only helps our plants grow, but it also influences how nutritious they are.
In addition, healthy soil deters pests because bad soil generates weak plants that are more prone to pests and can attract them. Plant disease is also aided by the helpful bacteria found in excellent soil.
When it pertains to planting in South Florida, fall is our “spring.” Our growing season begins in the fall and ends in the spring, which is the polar opposite of most U.S. locales. We had beautiful rich organic soil during the first few years of our garden, which we were able to buy at a low cost.
To “prepare the soil,” all we had to do was open the bags and throw them in the beds, and our plants would flourish! When our source dried up, we had to figure out how to make the ideal soil conditions for our plants on our own. It’s been a process that we’ve improved on year after year and are still learning from.
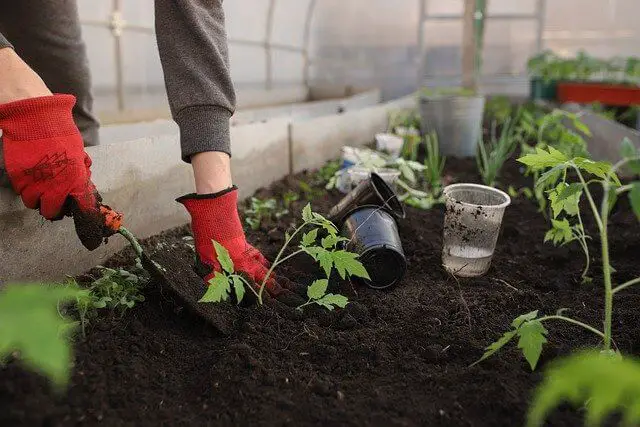
How To Prepare Soil For Vegetable Garden In Florida
Every year, we take several actions to prepare the land for planting our new crops.
I. Before the start of the fall season:
- A truckload of finely ground tree mulch is purchased at least six months ahead of time to ensure that it will decompose into composted soil in time for fall planting.
- After we finish harvesting, we sow seeds for our cover crops in several of the beds. We cut down the plants as they grow (in a few months) and turn them into the soil to decompose.
- We compost as much of our culinary scraps as we can in bins at our community garden and home.
II. Soil preparation in the beds:
Summer crops were turned beneath and allowed to fully degrade. The beds have been weeded. If needed, the bed can be sifted using our handcrafted wooden frame with screening installed, based on how rough the soil is. This is a time-consuming process, but it is well worth it to obtain purified soil.
The composted soil (which has broken down) and a large amount of peat are next placed on the bed. The fresh materials are then properly mixed into the beds, which are dug deep. Before planting, the soil is allowed to “rest” for at least a week, during which time the peat can begin to reduce the pH level.
If needed, a thin layer of our prepared, rich kitchen-scrap compost is applied to the top of the soil and just lightly stirred in at the time of planting. Additionally, while placing the beds in the ground, this compost or worm castings can be poured in the hole for transplants, or afterward “fed” to developing plants around their base.
NOTE: Weeding and permitting complete decomposition of the foregoing ingredients is necessary so that the soil does not have to invest energy in decomposing them when new seeds/seedlings are planted. As we’ve observed firsthand, this can drastically stifle plant development.
III. Additional Organic Soil Amendments (before or during planting)
Azomite is a powdered material that is mixed into the top six inches of soil before planting (at a set rate per square foot). It is made up of trace minerals found in old mineral deposits, and it aids plant development and nutrition.
Greensand is a powdery substance that comes from the ocean floor. It helps to increase root growth, water retention levels in the soil, and plant health in general by supplying various components to the soil, namely potash, magnesium, iron, silica, and many trace minerals.
Worm castings are a great source of organic nitrogen and minerals. Because they are costly and a very effective dietary source, they are utilized sparingly:
- They make up 10% of the soil mix we use to grow plants in flats.
- They’re sprinkled on top of or near the soil where seedlings are transplanted into beds.
- When plants require a boost during the growing season, they are administered directly as fertilizer.
This year, we added sulfur to the soil in the form specifically designed for gardens to lessen our pH and boost acidity. The pH of South Florida soils is often high, which makes it difficult to produce certain vegetables. After mixing the sulfur into the soil, it must sit for at least 30 days before planting. Sulfur should be added to the soil yearly.
As our main planting season begins in the fall, it is a very significant and labor-intensive time for us. We take soil preparation very carefully because it is regarded as the most vital ingredient for a healthy, organic garden. The more we do it, the better off we will be!