
Turnip greens are a pleasure to cultivate, particularly in the fall. Turnip greens are crisper and tastier as the evenings become lengthier and chilly. Best of all, each plucking will result in a new flush of delicate leaves, with plants staying fruitful at least until the first cold freeze, if not longer.
They bloom in the spring as well but be sure to plant them early. Turnip plants develop blooms and seeds rather than new leaves as the days extend. In areas where spring gets very rapidly, a few days of bright sun can also make the greens seem robust and sour.
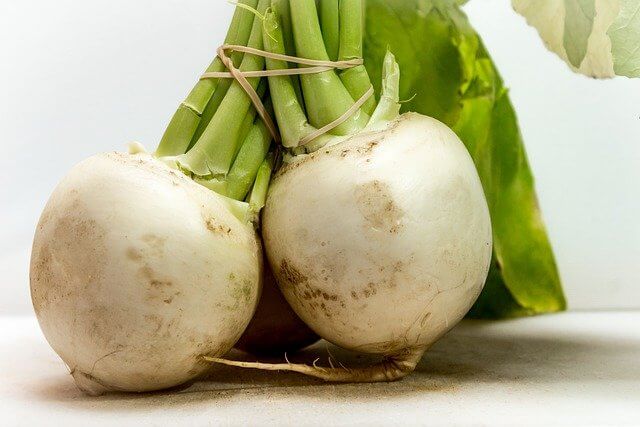
If you grow turnip green types for leaf output, the plants may yield turnip roots as well, though not always of excellent quality.
How To Grow Turnip Greens
- Plant turnip greens in the fall from late August to October, or 2 to 4 weeks before the last frost for a spring yield.
- In healthy, well-drained soil with a pH of 5.5 to 6.8, plant these simple greens 6 inches apart.
- Mix a few inches of old compost or other nutritious organic matter into your native soil to help it out.
- To keep leafy veggies happy and moisturized, use a soaker hose or drip watering.
- Give water-soluble fertilizer to turnip greens regularly to keep them supplied.
- Wait until evening temps drop into the 40s or lower to pick turnip greens for the finest flavor.
Soil, Planting, And Care
In any well-drained soil, turnip greens are easy to grow. In most places, turnip green plants should be planted 2 to 4 weeks before the last winter in the spring and late August to October for an autumn harvest. They can be cultivated in fall and winter in zones 9 and 10.
To yield lovely, soft leaves, turnip greens, like collards, kale, and other greens, must grow quickly. They’re not picky about soil, growing well in a pH range of 5.5 to 6.8, and even surviving in poor sandy soil.
To increase the porosity and nutrition of the soil, you should supplement it with compost or aged compost-enriched Miracle-Gro® Performance Organics® All Purpose In-Ground Soil before planting.
Plants should be spaced 6 inches apart, and seedlings should not be thinned or separated if there are so many in the container. Turnip greens don’t object to growing in little bunches as long as each one has plenty of room to move about.
Although they are a turnip variation, don’t expect great roots from populated plants. They are sown solely to produce leaves.
Turnip greens require consistent watering to grow, so keep them moistened during the generally dry autumn months. In your turnip patch, pull any weeds that emerge. Use a water-soluble fertilizer like Miracle-Gro® Performance Organics® Edibles Plant Nutrition to get a better effect.
Recommended gardening products:
- Garden Pots, buy on Amazon
- Germinating Tray, buy on Amazon
- Gardening Wheelbarrow, buy on Amazon
- Gardening Gloves, buy on Amazon
- Gardening clothes, buy on Amazon
Recommended: Learn how to grow turnip from sprouting tops
Troubleshooting
The yellowing and withering of older turnip leaves are natural. Taking out older leaves around once a week promotes the plants to produce more greens.
Keep an eye out for aphids or mites on your greens, which may be handled with an insecticidal soap spray. Aphids and mites, on the other hand, can destroy your harvest. Small flower beetles or other chewing insects will occasionally make benign holes in the leaves, but aphids and mites can destroy your harvest.
Harvest and Storage
To bring out the delicious taste in the greens, start consuming them when the evening temperatures are in the 40s or lower. Greens grown in hot weather have a strong and bitter flavor, especially to those who haven’t developed a liking for them.
Collard greens have a milder flavor than turnip greens. You can select individual leaves or harvest large handfuls with a sharp knife. In just 2 to 3 weeks, plants cut back approximately 2 inches over the top of the root will sprout a fresh set of fragile leaves.
To eradicate any soil from the greens, wash them properly. The most straightforward method is to place the leaves in a large bowl or clean pail of water and spin them around until any soil settles to the base. Repeat until all of the leaves are free of debris. Keep a large galvanized tub dedicated to this use if you have a bumper crop.
Greens should be cut right before cooking, although they can be kept in the fridge for a few days in a plastic bag. Steamed or frozen extras are options. Cook the greens with any large turnip roots that grow.
Recommended: Learn how to grow seven top turnip
Conclusion
I hope you find this article helpful. I would like to hear from you. So, let me know if you have any questions about growing turnip greens.