
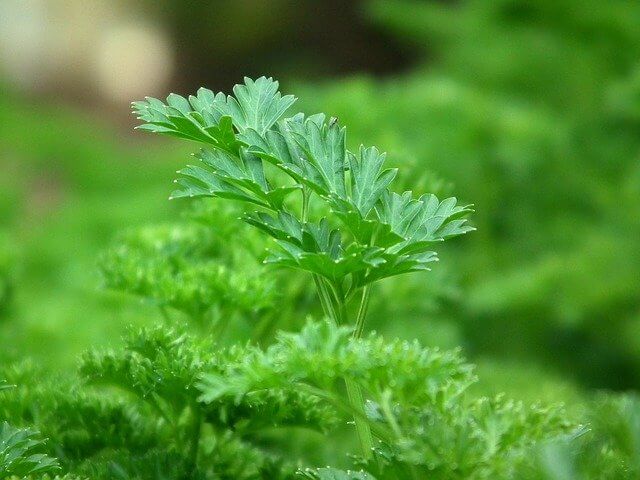
Fresh herbs give your dishes a vibrant flavor that dried herbs can’t quite match. With its high vitamin C concentration, parsley (Petroselinium crispum) contributes both nutrition and flavor.
You may grow parsley all year in warm areas, such as those in USDA plant hardiness zones 9 and above, provided you harvest Parsley gently in the cooler months when new growth slows. Treat this biennual plant, which goes to seed in its second year, as an annual in both warmer and cooler climes, and grow fresh plants every year for the finest flavor.
How To Grow Parsley Step By Step
The following are step by step guides on how to grow parsley:
Step 1. Seed Germination
The germination of little parsley seeds might take up to five weeks. The germination process can take much longer if your seeds are old. To aid stimulate and expedite the germination process, soak the seeds in warm water for 24 hours before planting.
Begin parsley seeds in a pot with drainage holes in the bottom and a well-draining seed-starting medium. Plant your seedlings indoors eight weeks before the last frost to guarantee that they are prepared to transplant once the earth warms up.
Sow them in warm soil after the danger of frost has gone if you wish to plant them outdoors. Bury your seeds with 1/8 inch of soil and keep them wet until they emerge. Around two or three weeks, you should see seedlings emerge.
Step 2. Seedling and Plant Care
If conditions have warmed, you can transplant your seedlings outdoors when they are at least 2 inches tall, which normally happens between March and May depending on where you live. In a well-draining soil, space them out about 10 inches apart. Thin the seedlings after they reach two to three inches in height if you put your seeds outside.
Keep the seedlings with the best leaves and stalks, which are the strongest. Thin out the seedlings until they’re about 10 inches apart in the end. Ensure that your seedlings get six to eight hours of sun per day. The plants should be watered regularly to keep the soil moist but not soggy. Mulch keeps moisture in the soil and keeps weeds at bay.
Also: Read How To Grow Parsley From Cuttings Here
Step 3. Fertilizer Application
During the growing season, administer a commercial fertilizer with a high phosphorus concentration, such as a 5-10-5 fertilizer, twice. For each 10-foot row, add 3 ounces of fertilizer. When growing parsley in containers, fertilize once a month with a liquid fertilizer that has been diluted to half strength.
Step 4. Harvest
Approximately 60 to 90 days after transplanting the seeds, your plants should be ready for harvest. Throughout the growing season, parsley keeps producing new leaves, allowing you to gather them all year. With pruning shears, cut around the base of the parsley stems. To foster new growth, prune regularly.
Step 5. Preservation
Place extra leaves on a drying rack or bind them in bundles and hang them if you wish to save them. In a sealed container, dry leaves will last up to a year. Put fresh parsley leaves flat in a freezer bag if you’d rather store them fresh rather than dried. Freeze the bag for up to six hours before storing it flat for up to a year. With dried and frozen leaves, there may be some flavor degradation.
Step 6. Seeding
As per UC Davis Calaveras County Extension, the plant can produce until next spring if it is kept in a protected location, while it can set seed in its first year if it becomes too hot.
You’ll notice a unique bitter flavor in your parsley plants when they produce flowering stalks, which is a sign that they’re getting old. Harvesting parsley leaves should be stopped at this point. Allow the lacy yellow blossoms to mature before harvesting the seed they produce to ensure that your production continues year after year.